Featured
- Get link
- X
- Other Apps
Dual Z Axis Upgrade Kits T8 with Lead Screw Stepper Motor For Creality Ender 3/Ender 3 Pro/Ender 3 V2 3D Printer Parts Z Axis
>>>
Brand Name Siboor
Origin CN(Origin)
Item Type Lead Screw
Model Number Dual Z Axis Lead Screw Upgrade Kit
Model Number 1: for Creality Ender 3 3S PRO
Model Number 2: for Creality Ender V2
Model Number 3: for Aquila i3
Model Number 4: Dual Z-axis Fastener


Color


Features:
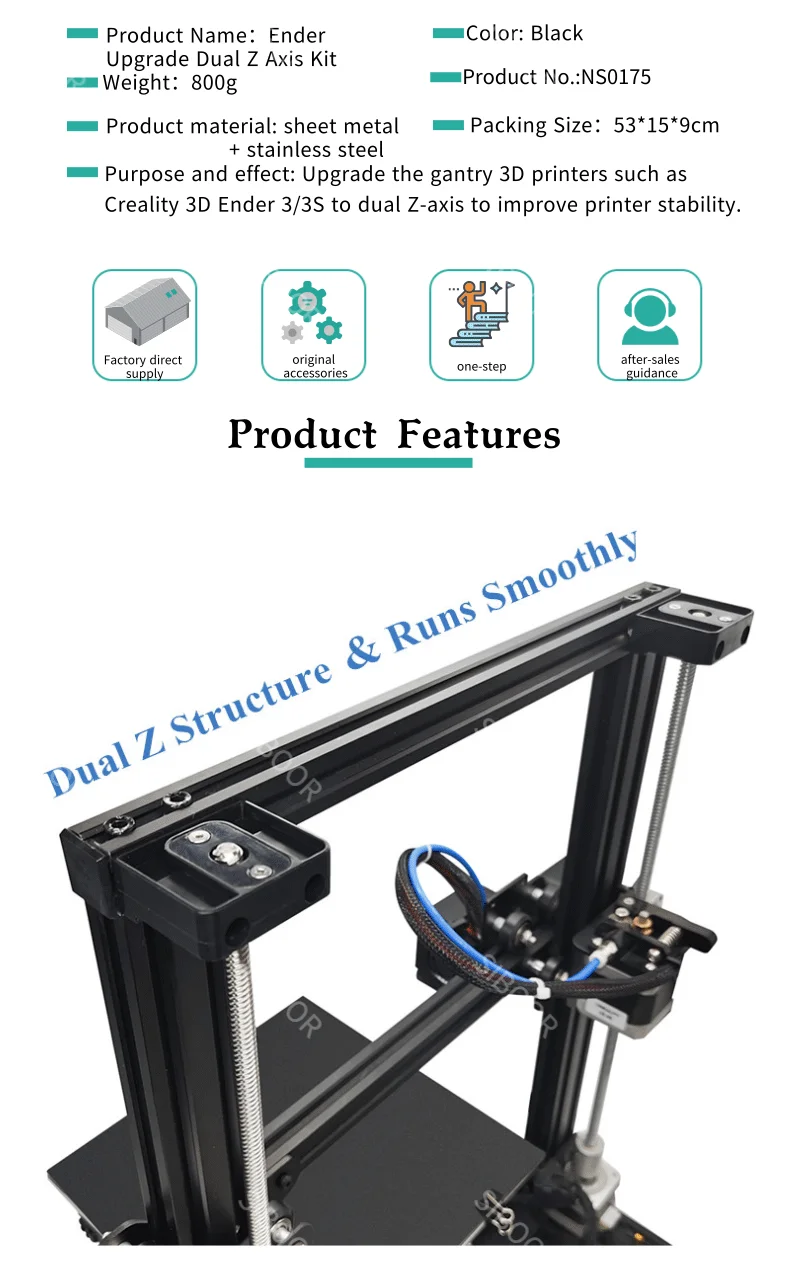
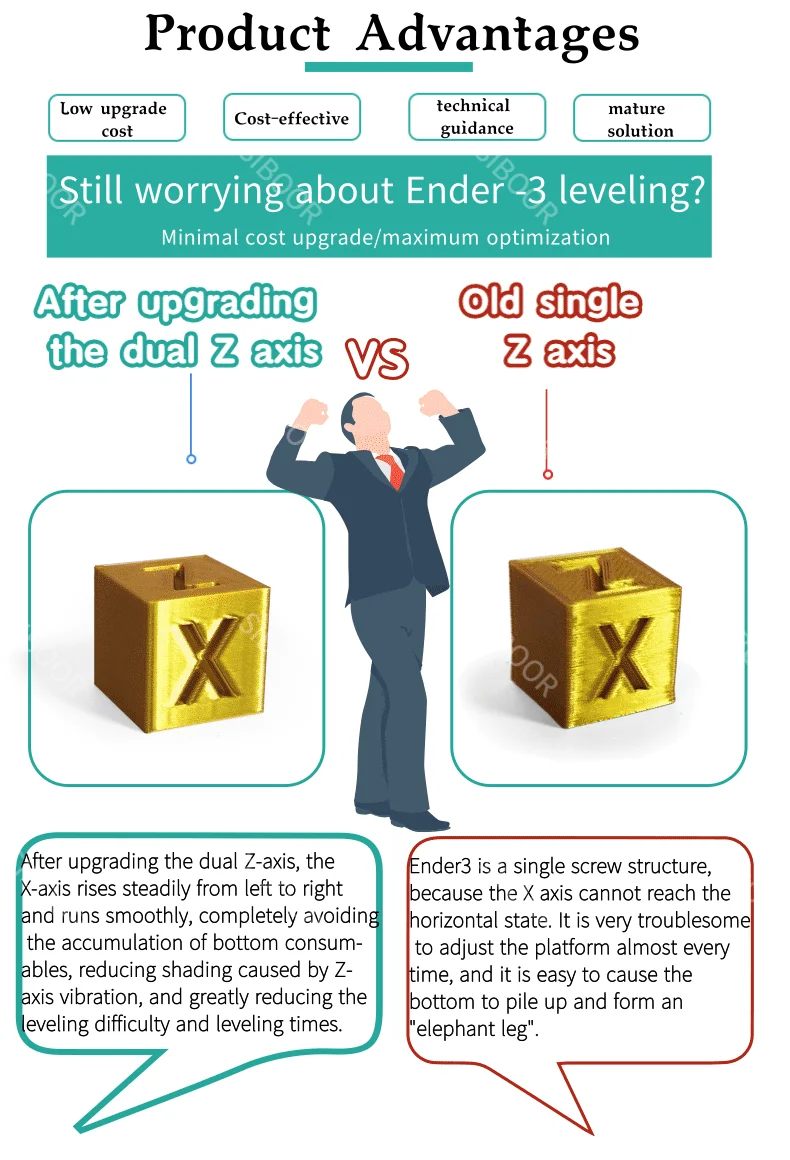
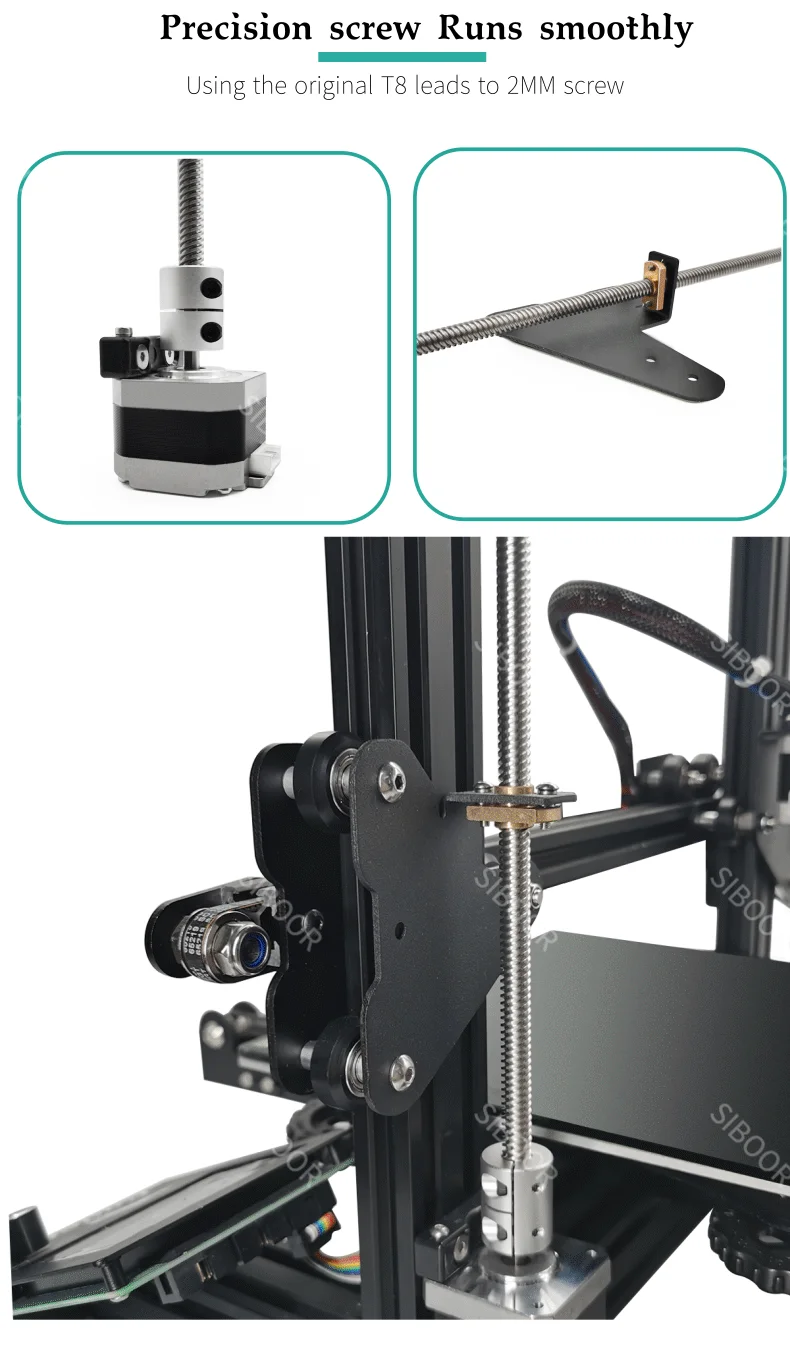
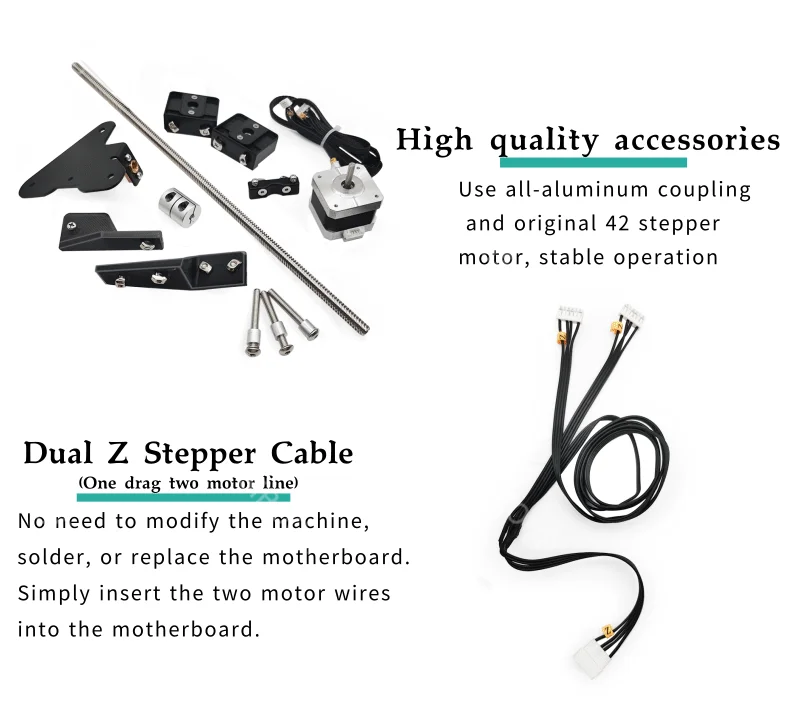
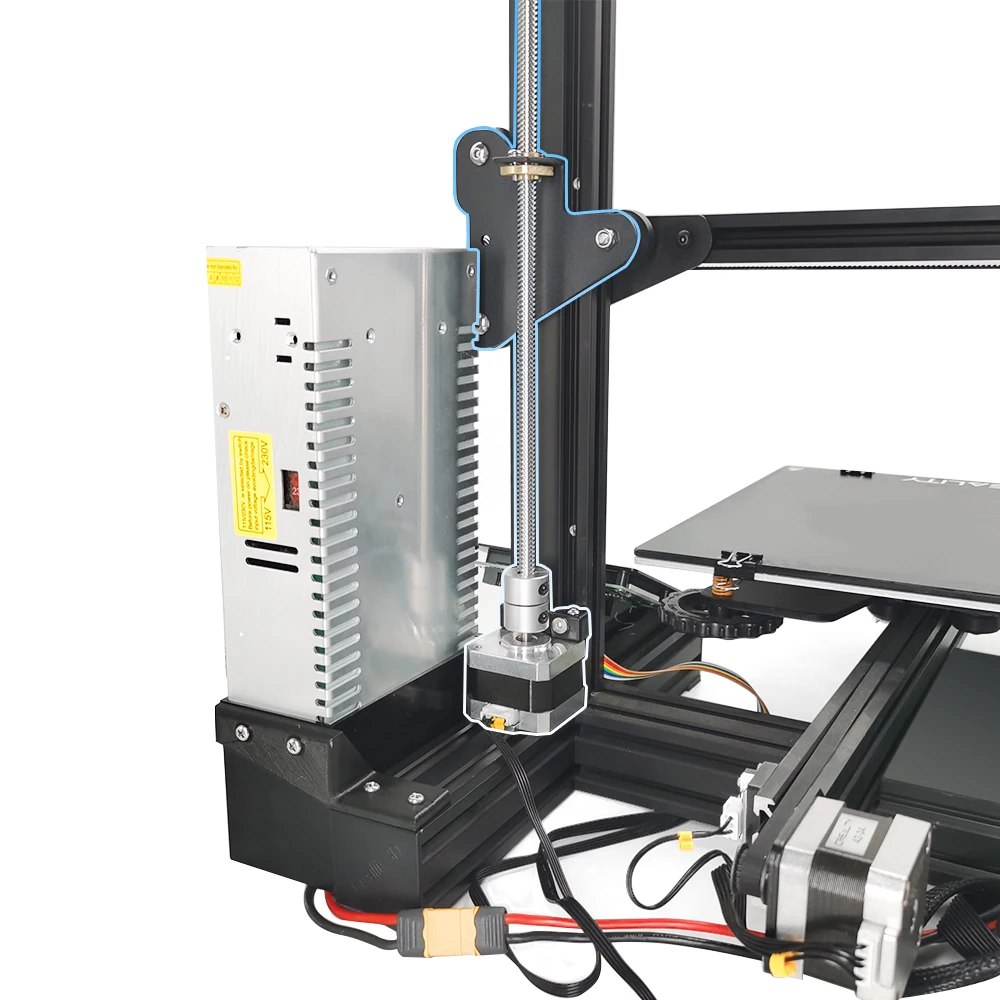
Upgrade 3D printers such as creality Ender3/3s/ Cr-10/10s/ Ender3 V2 to dual z-axis to improve printer stability.After the upgrade of dual Z axis, the x-axis rises steadily and runs smoothly, which completely avoids the bottom consumables stacking pressure, reduces the lamination caused by z-axis vibration, and greatly reduces the leveling difficulty and leveling times.Use original T8 precision screw rod, it runs smoothly. All aluminum coupling and original 42 stepper motor are used, stable operation.No need to weld or replace the motherboard, directly insert the one to two motor wire into the motherboard.Compared with the upgraded double Z kit sold on the market, this kit contains a power fixed module, which no longer allows the power supply to be scattered freely to avoid electric shock and short circuit.
Specifications:
Color: Black
Material: Sheet Metal + Stainless Steel
Fits for: Compatible with Creality Ender 3/3S 3D Printer
Package Size: 38 * 9 * 6.2cm / 15.0 * 3.5 * 2.4in
Package Weight: 622g / 21.9oz
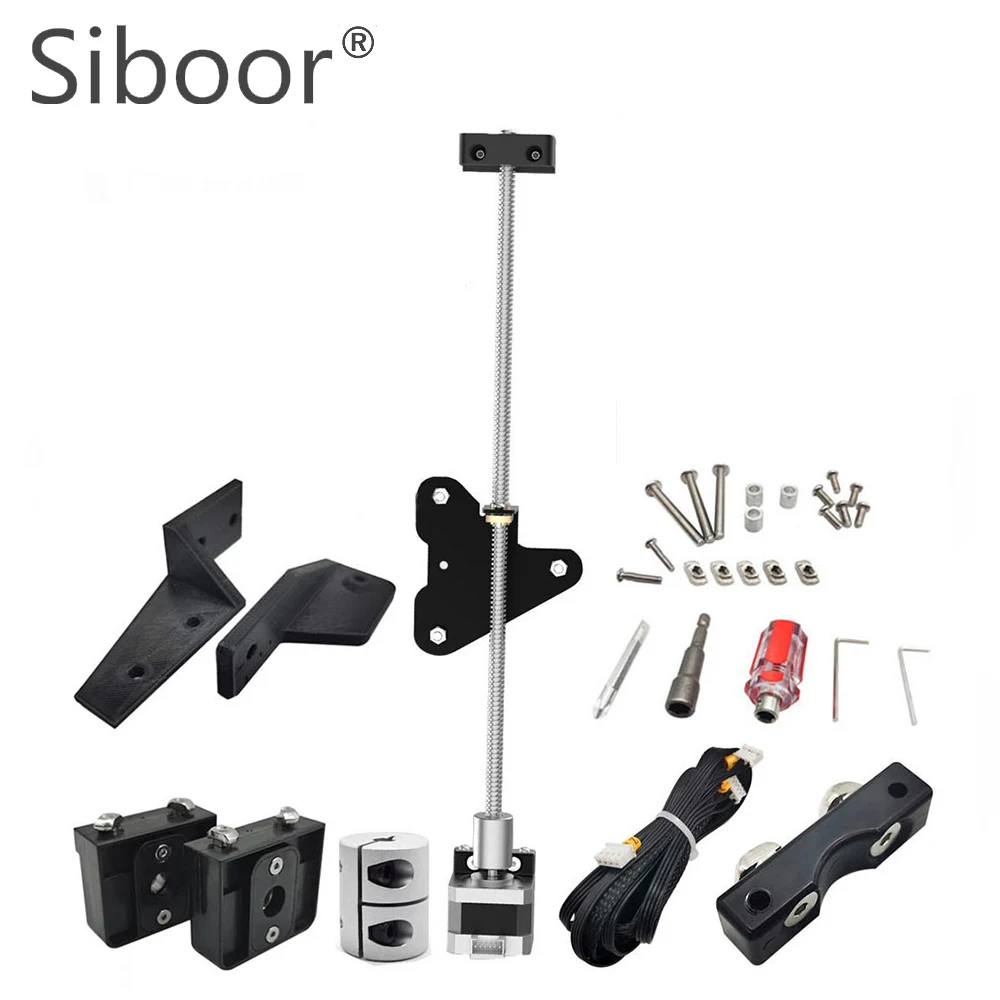
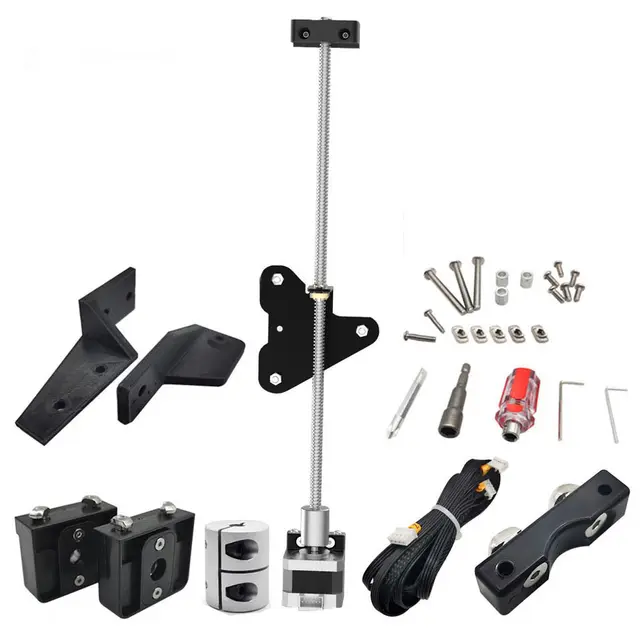
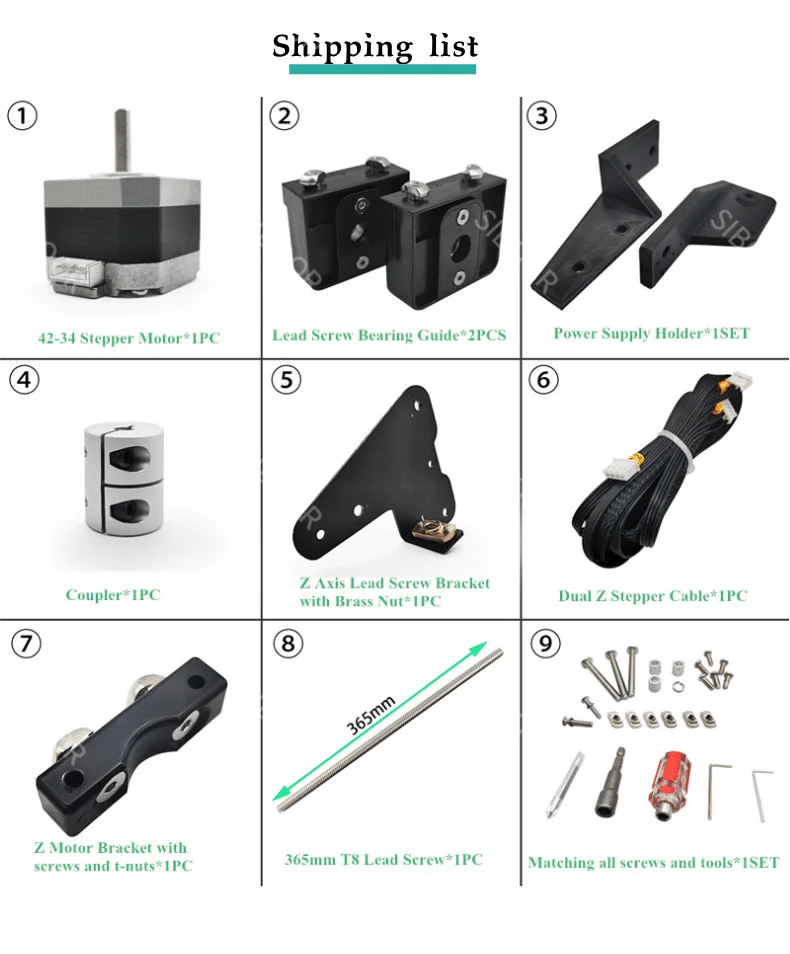
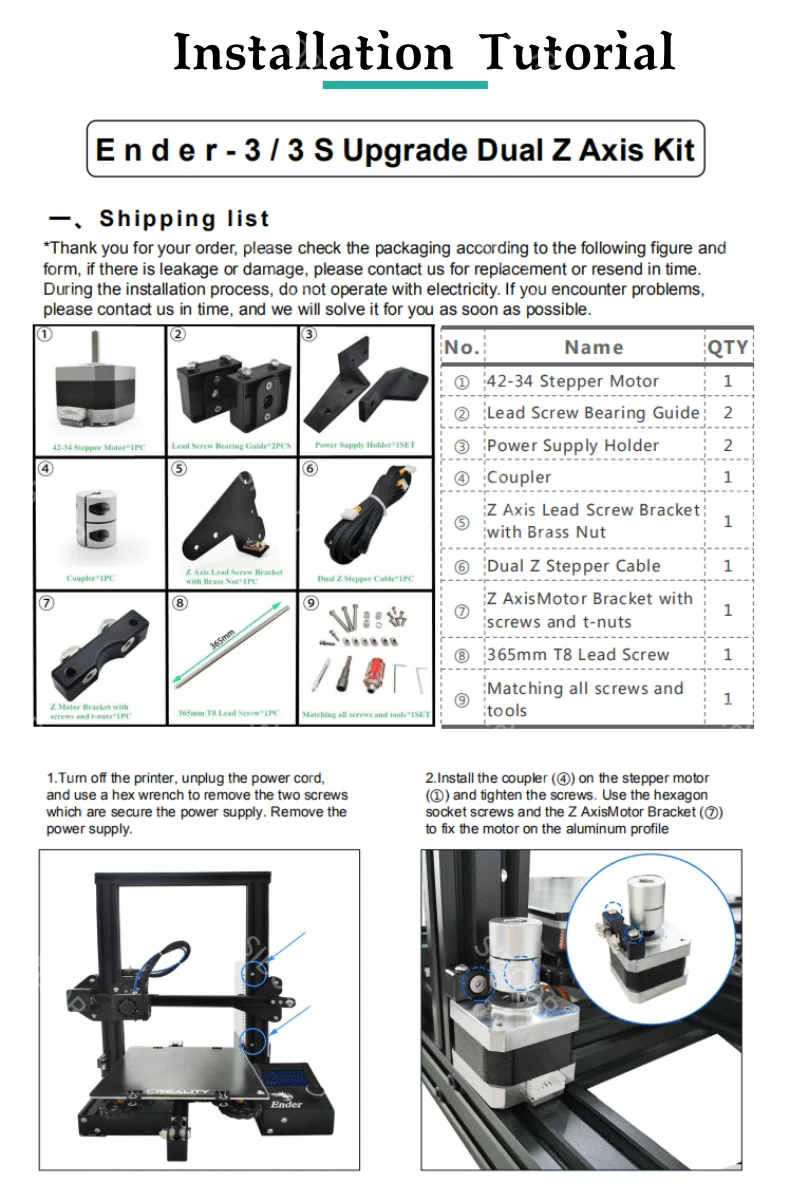
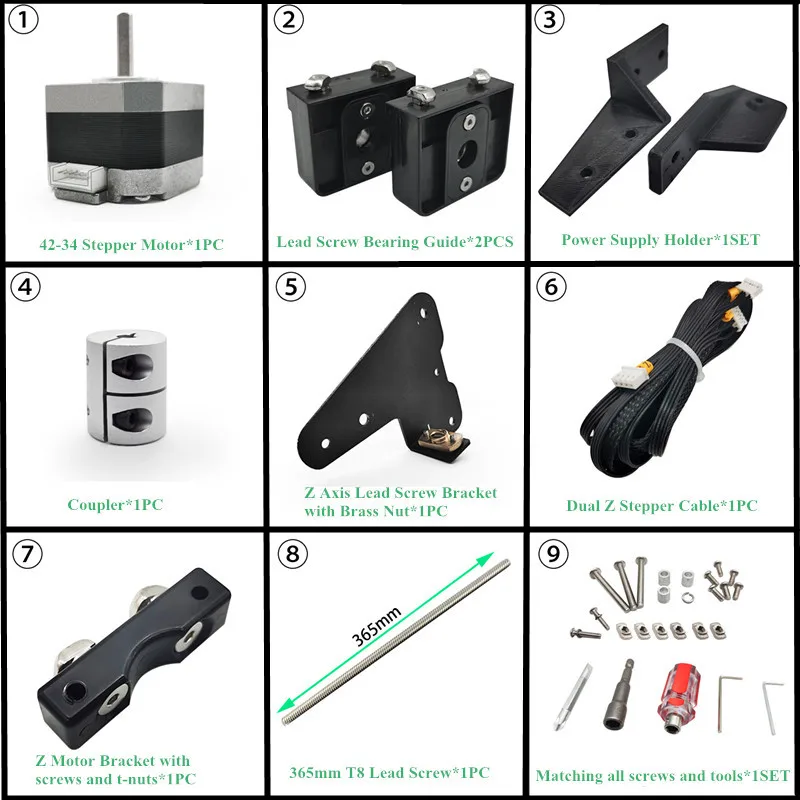
Package Includes:1 PC 42-34 Stepper Motor
2 PCS Lead Screw Bearing Guide
1 Set Power Supply Holder
1 PC Coupler
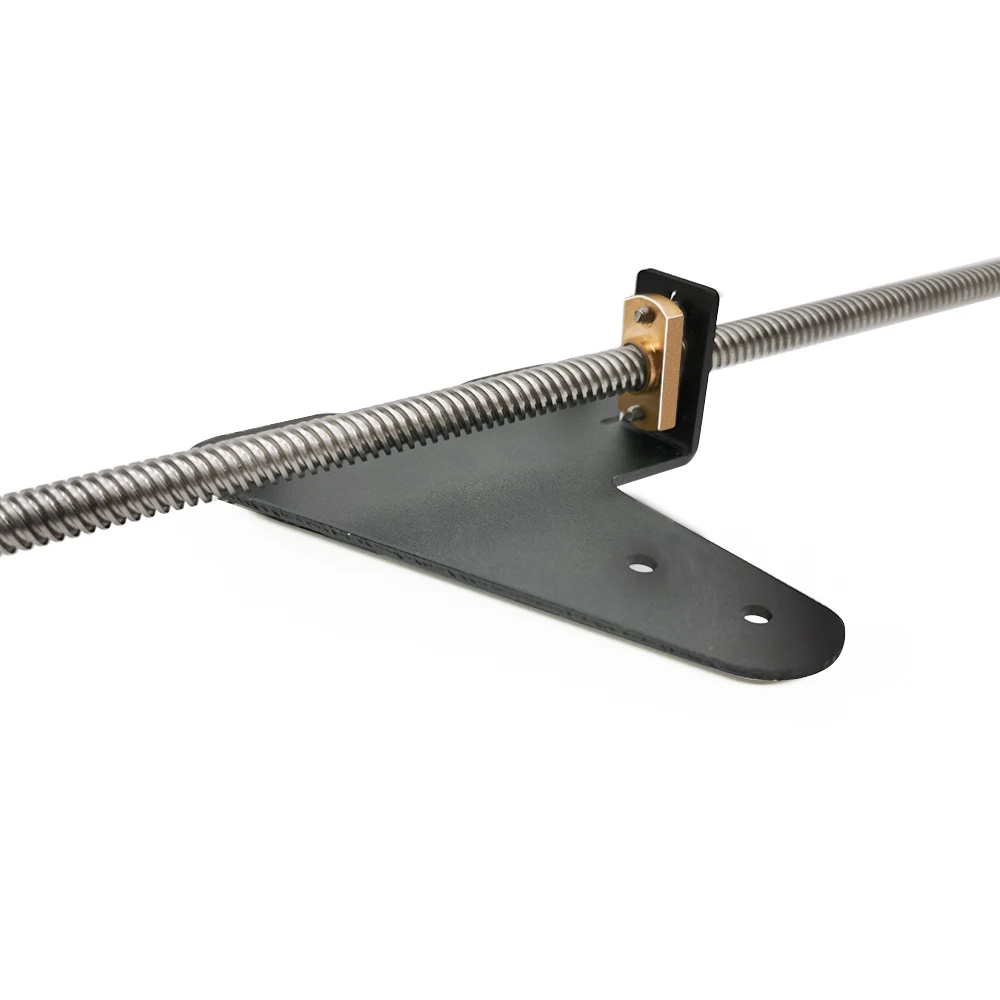
1 PC Z Axis Lead Screw Bracket
1 PC Dual Z Stepper Cable
1 PC Z Motor Bracket with screws and t-nuts
1 PC 365mm T8 Lead Screw
1 Set Matching all screws and tools

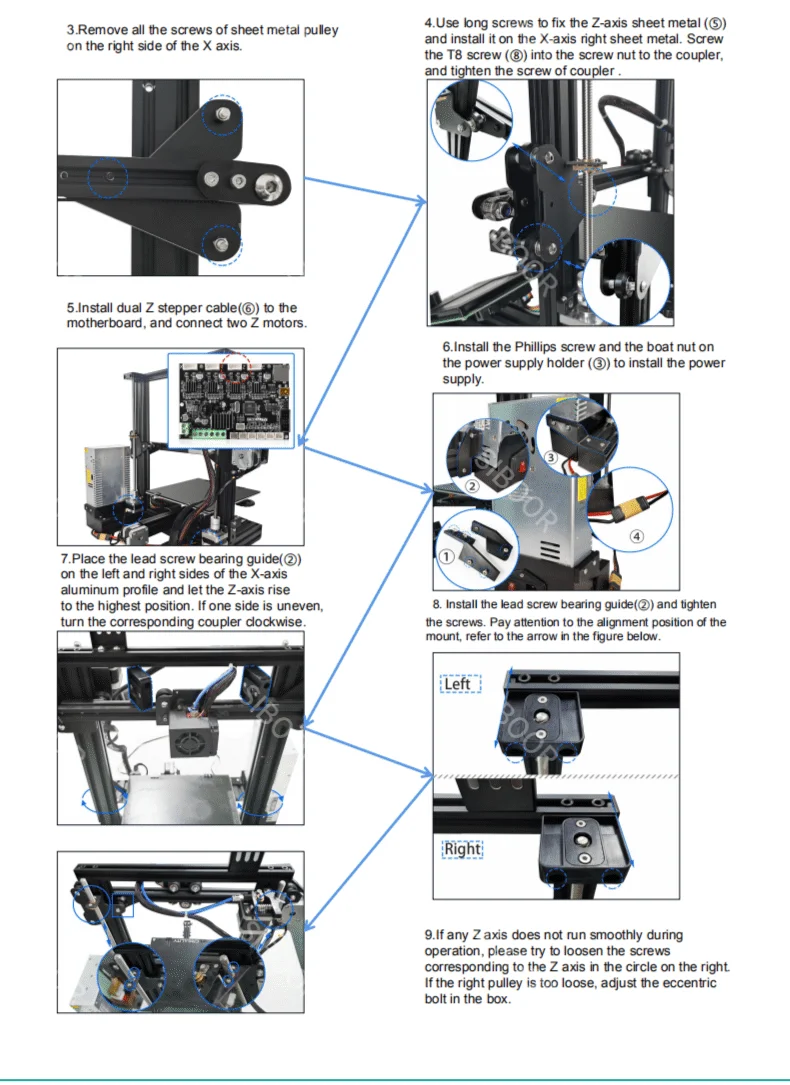
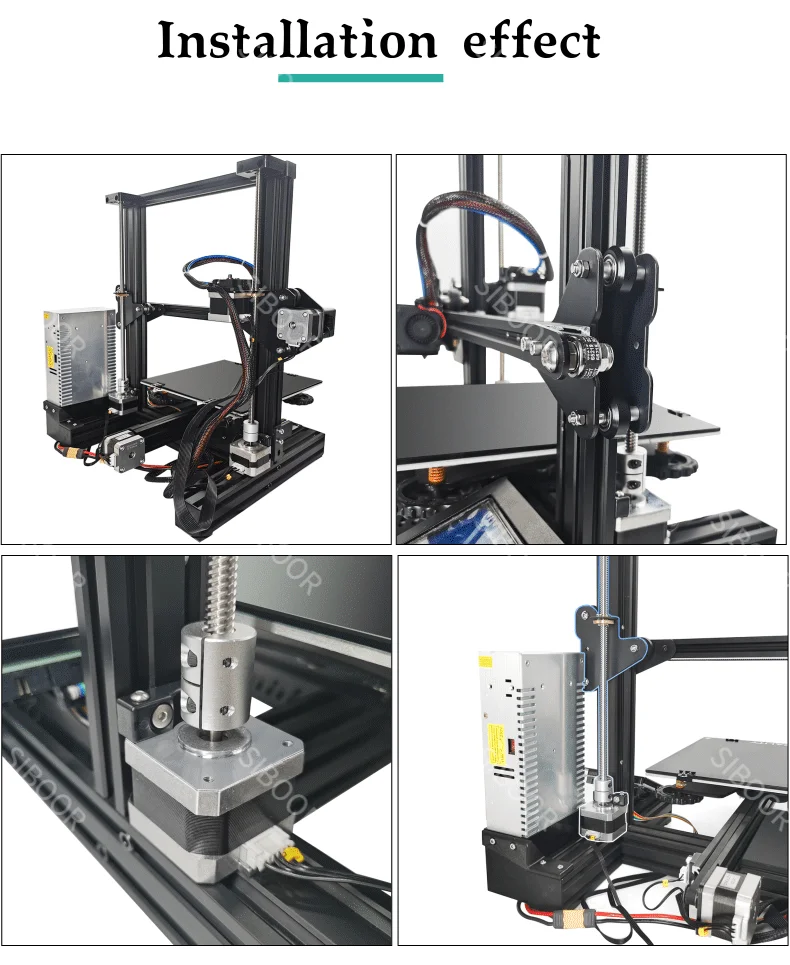
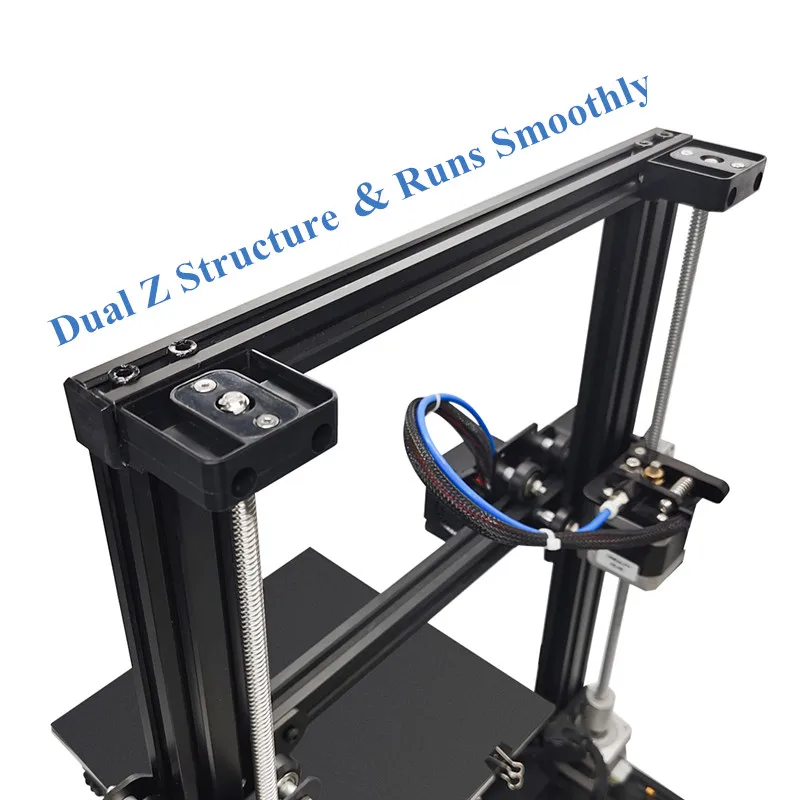
Installation Step:
1) Turn off the printer, unplug the power cord, then use a hexagonal wrench to loosen the two screws that fix the power supply, and then remove the power supply.
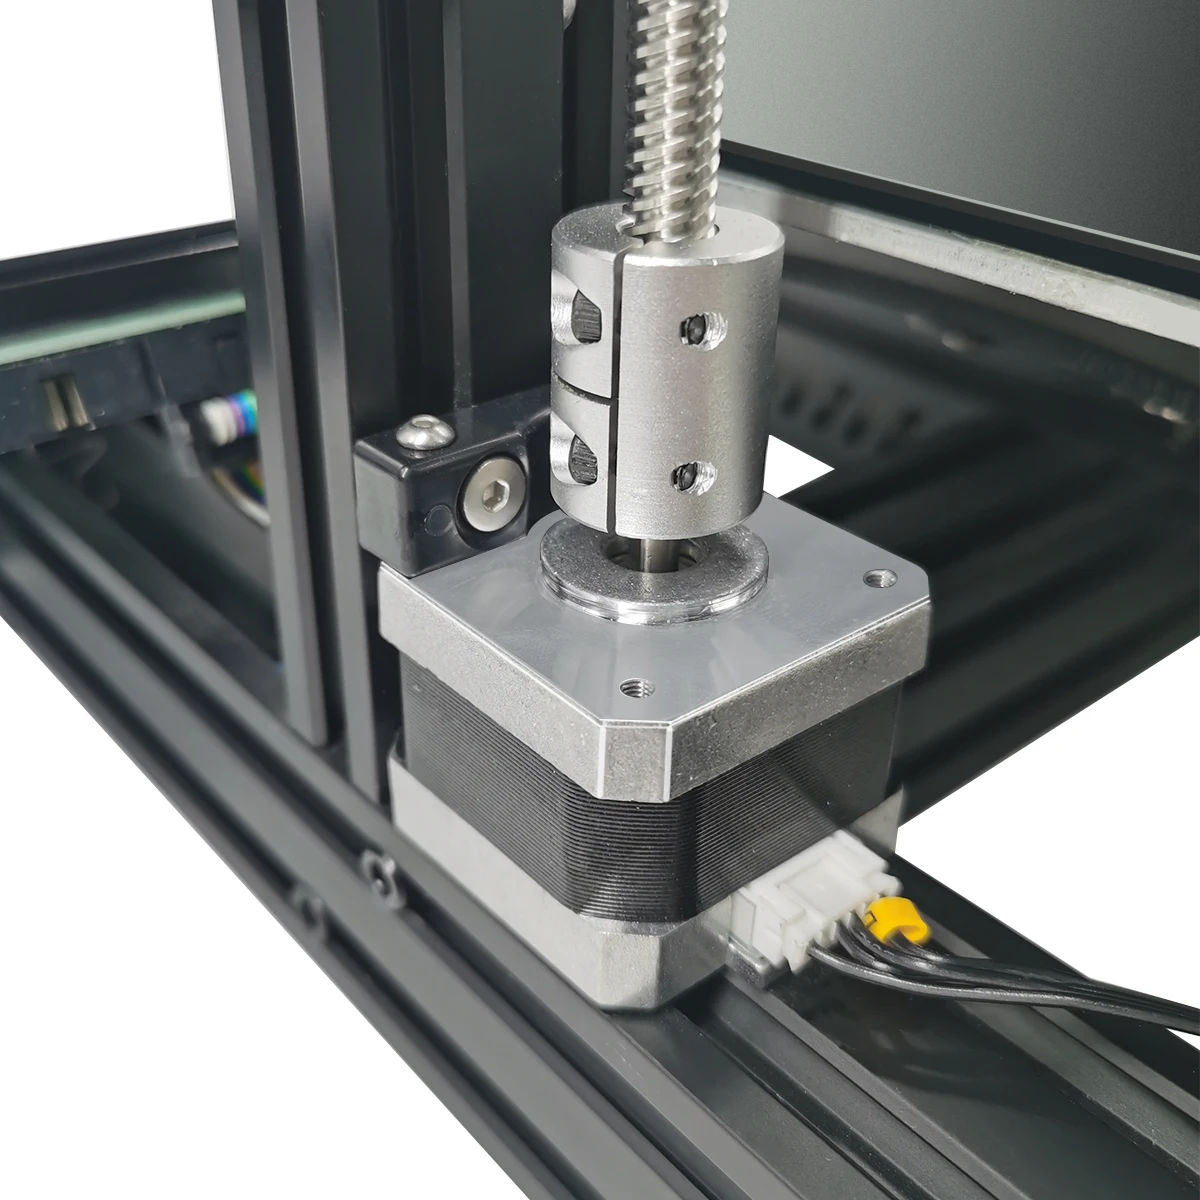
2) Install the coupler on the stepper motor and tighten the screws. Use hexagon socket screws and Z-axis motor bracket to fix the motor on the aluminum profile.
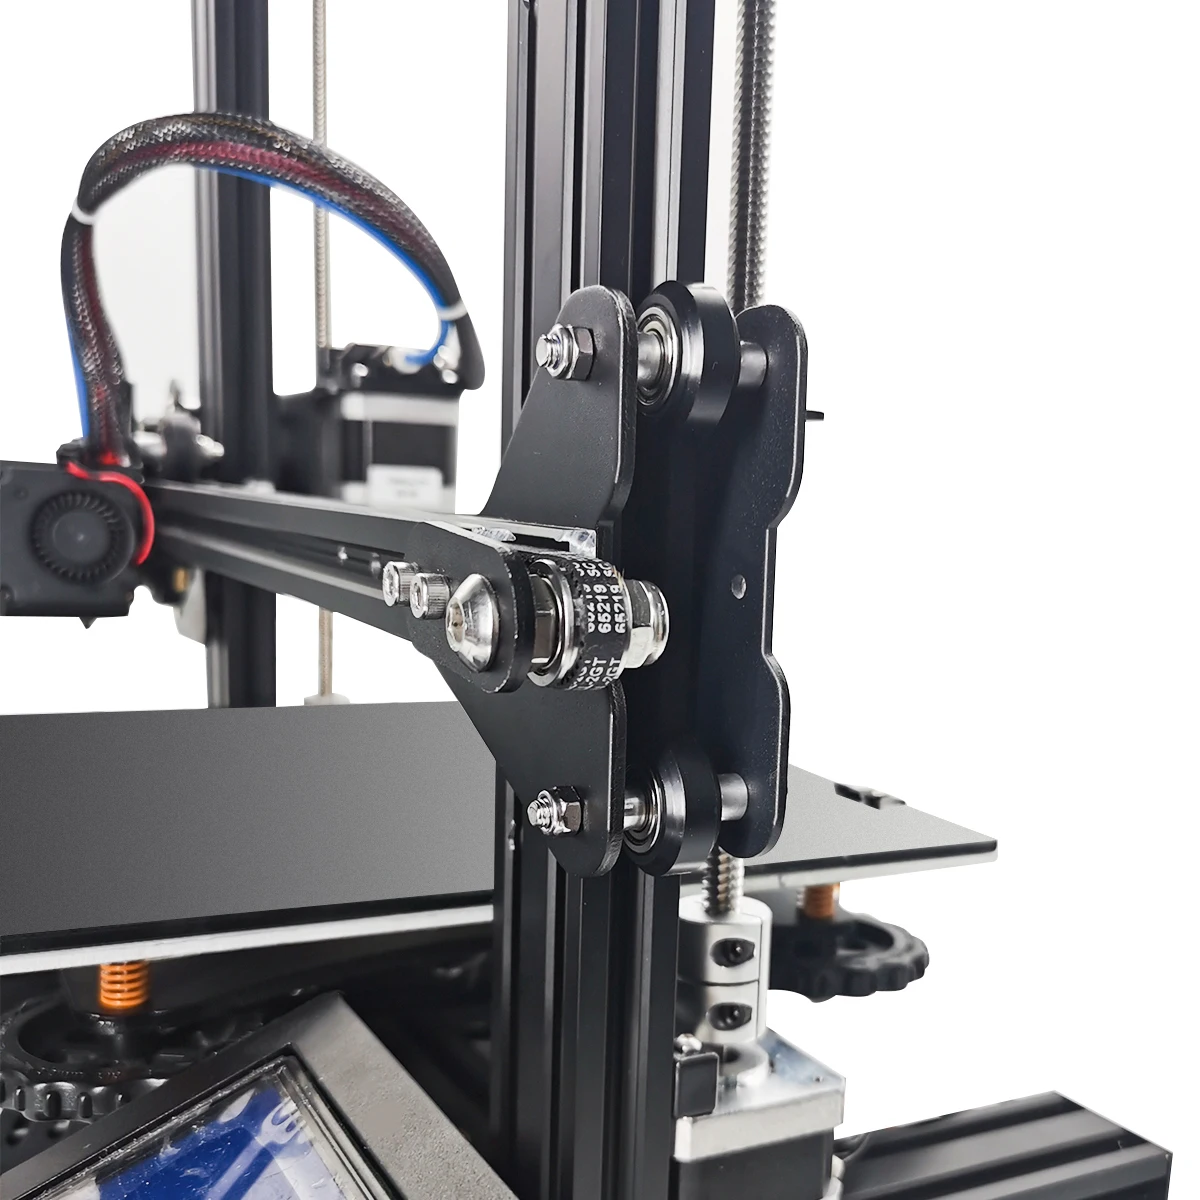
3) Remove all screws of the sheet metal pulley on the right side of the X axis.
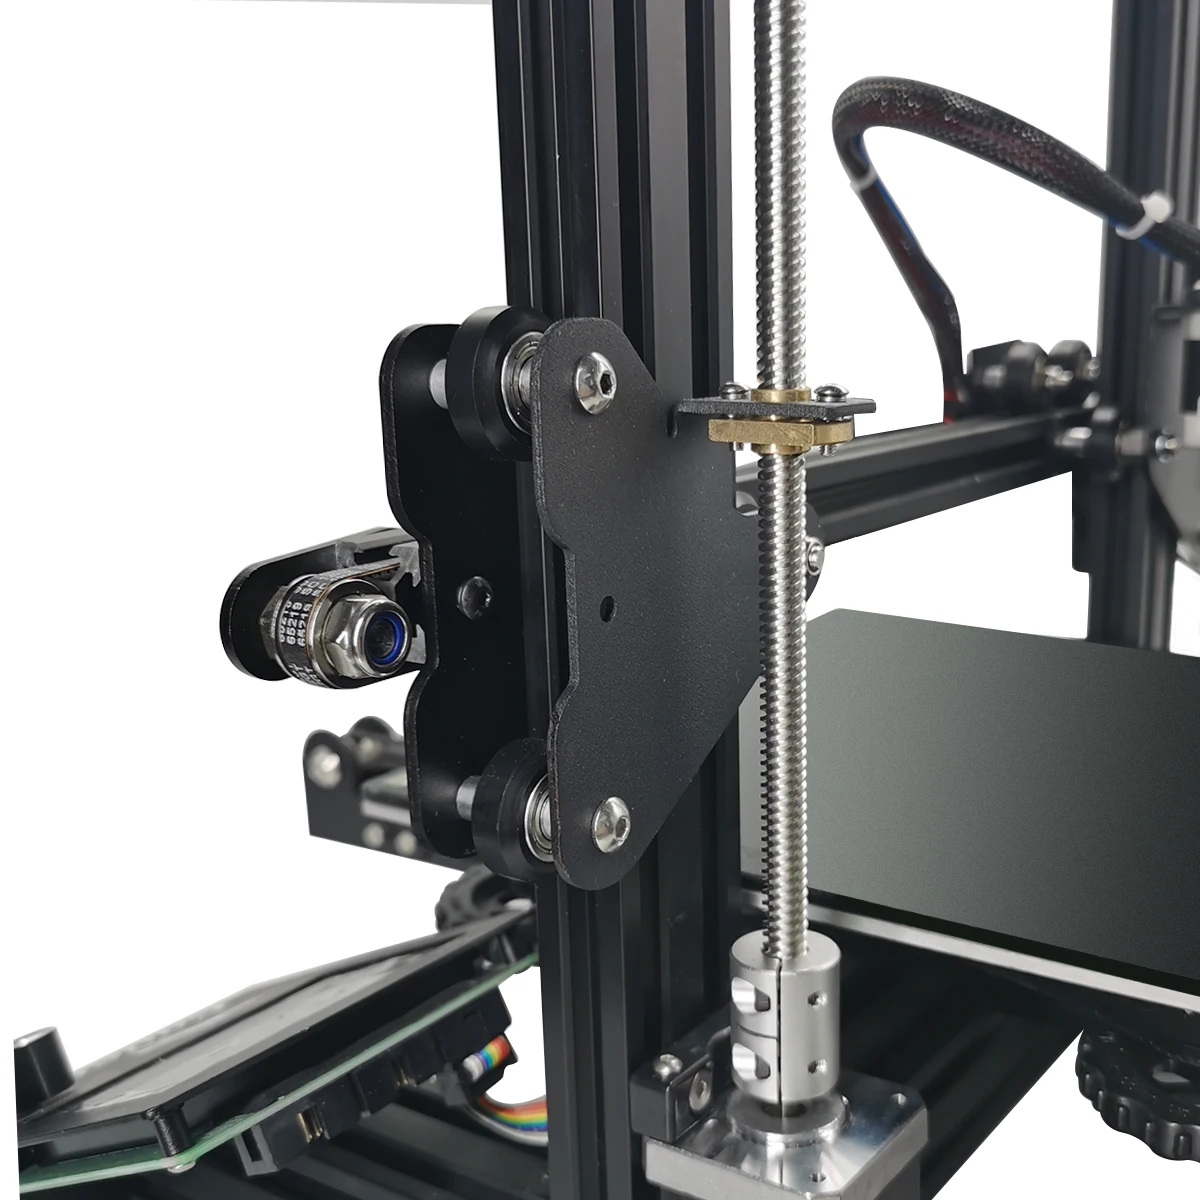
4) Fix the Z-axis sheet metal with long screws and install it on the right-hand sheet metal of the X-axis. Screw the T8 screw into the nut of the coupler and tighten the screw of the coupler.
5) Install dual Z stepper cable to the motherboard, and connect two Z motors.
6) Install the Phillips screw and the boat nut on the power supply holder to install the power supply.
7) Place the lead screw bearing guide on the left and right sides of the X-axis aluminum profile and let the Z-axis rise to the highest position. If one side is uneven,turn the corresponding coupler clockwise.
8) Install the lead screw bearing guide and tighten the screws, paying attention to the alignment position of the mounting base.
- Get link
- X
- Other Apps
Popular Posts
16 cm Doll Bjd Clothes 6 inch For Dolls Toys White Wedding Dress Spring Summer Winter Season Clothing Suit Furs For Girls 15cm
- Get link
- X
- Other Apps
adishree 2021 woman winter 100% Cashmere sweaters and auntmun knitted Pullovers High Quality Warm Female O-neck Black cheap top
- Get link
- X
- Other Apps
Comments
Post a Comment